Most of the year, a snowblower is the thing you walk around in the garage. Then the forecast turns, and by morning it's the only thing between you and a driveway you can't get out of. If it won't start, you're shoveling. If it's parked behind the mower and the patio chairs, you're digging it out before you can even pull the cord. This guide covers the weeks before that morning: a pre-season check you can do in an afternoon, a test start while it's still dry out, and a few habits that keep the machine ready and easy to reach all winter. Your owner's manual has the final say for your model. Still need a place to keep it? Our snowblower storage page covers sizes and spots.
Quick answer
✓ Start the season with fresh fuel, plus stabilizer if it will sit between storms
✓ Check the oil, the spark plug, and the shear pins, belts, scraper bar and skid shoes
✓ Charge the batteries on a battery or electric-start blower
✓ Do a test start outdoors on a dry day, before the first storm
✓ Park it where you can roll it straight out, with a clear path
✓ After every storm, knock the snow off and let it dry before you close it up
Why You Don't Want to Find Out on Storm Morning
A snowblower sits for most of the year, and the problems pile up quietly while it does. None of them are hard to fix in the fall. All of them are a pain in a storm, when parts and repair help can be harder to get.
Old Fuel
Gas left in the tank from last season can go stale and gum up the carburetor. That's a common reason a blower won't start after summer.
Dead Batteries
Battery-powered blowers and electric-start models need a charge or a cord that reaches. Find that out now, not at 6 a.m.
Worn Parts
Shear pins, belts, the scraper bar and skid shoes all wear. A snapped pin or a cracked belt stops the job cold.
Buried in the Back
A blower that runs fine but sits behind the bikes, the mower and the bins still costs you time when the snow is falling.
How to Prepare Your Snowblower for Winter: 7 Steps
Pick a dry afternoon in the fall, before snow is in the forecast. Steps 2 to 4 are for gas blowers; battery models can skip to step 5. Everything here is general advice, so check each step against your owner's manual.
01
Get Out the Manual
Find your owner's manual, or look it up online by model number. It lists the oil, the spark plug, the tire pressure and the parts your machine takes. Where it disagrees with anything below, the manual wins.
02
Start With Fresh Fuel
If last season's gas is still in the tank and it wasn't stabilized, empty it the way your manual says and start fresh. Fill up outdoors with the engine off and cool. If it may sit for weeks between storms, add fuel stabilizer to the new gas.
03
Check the Oil
Check the level with the blower on flat ground. If the oil didn't get changed in spring, change it now with the oil your manual calls for.
04
Look at the Spark Plug
Pull it and look for heavy carbon or a cracked tip, and check the gap against the manual. A plug is a cheap part. If it looks bad, replace it.
05
Check the Wear Parts
Engine off and spark plug wire pulled (or battery out) first. Then look over the shear pins, belts, scraper bar, skid shoes and the auger. Keep a few spare shear pins, the kind your manual specifies, wherever the blower lives.
06
Charge Up and Air Up
Battery blower: charge the batteries indoors, the way the maker says. Electric start: find the cord and make sure it reaches an outlet. Air tires: set the pressure from the manual or the tire sidewall.
07
Do a Test Start
Roll it outside first. Never run it in a closed garage or shed, because the exhaust carries carbon monoxide. Start it, let it warm up, then engage the auger and the drive and turn the chute. Anything that's off is a lot easier to sort out today than on storm morning.
One rule all season
If the chute clogs, shut the engine off, wait for the auger and impeller to stop completely, then use the clean-out tool. Never reach in with your hand.
Keep It Ready Between Storms
Once it runs, the job is keeping it that way and keeping it close. Wet snow that freezes on the auger and chute can lock them up by the next storm, and every minute spent moving other stuff out of the way is a minute you're not clearing.
✓ Park it facing out, with a clear path to the driveway
✓ Keep the shovel, salt, clean-out tool and spare shear pins right next to it
✓ After each use, let it run a minute to throw out loose snow (if your manual says to), then brush off the snow and ice
✓ Let it dry before you close it in, so water doesn't sit on the metal
✓ Refuel after the engine cools, not while it's hot
✓ After a big storm, clear the snow away from wherever it's parked so you can get it out next time
No Room in the Garage?
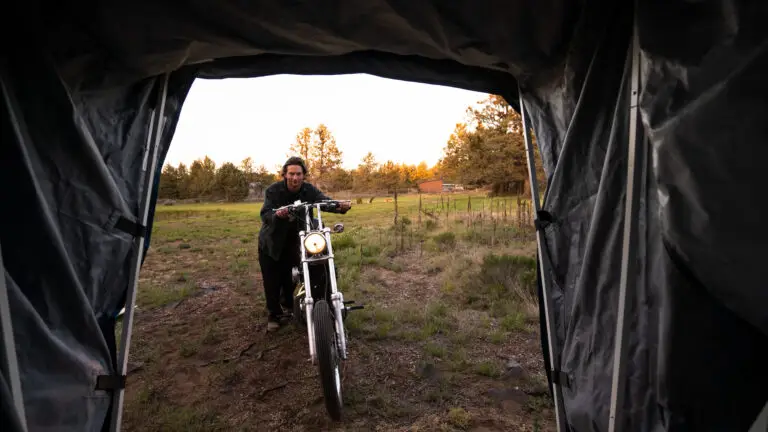
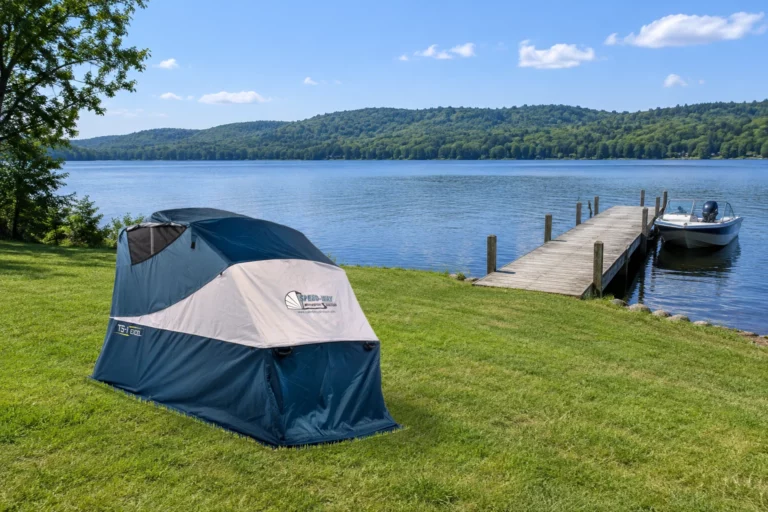
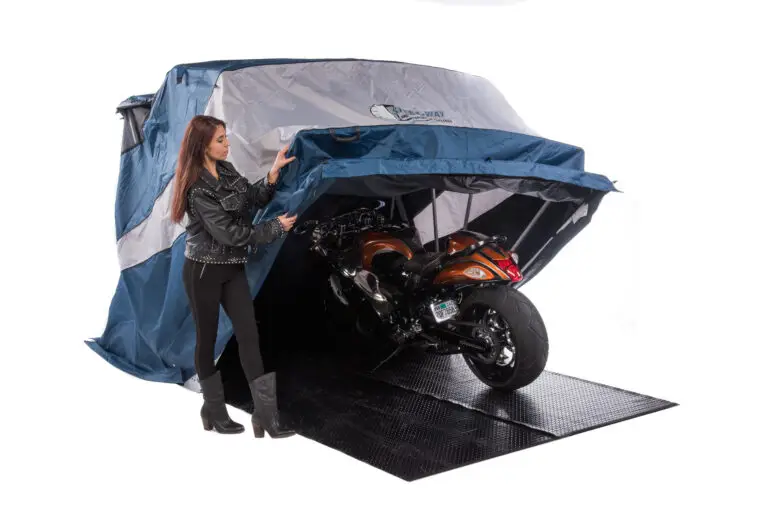
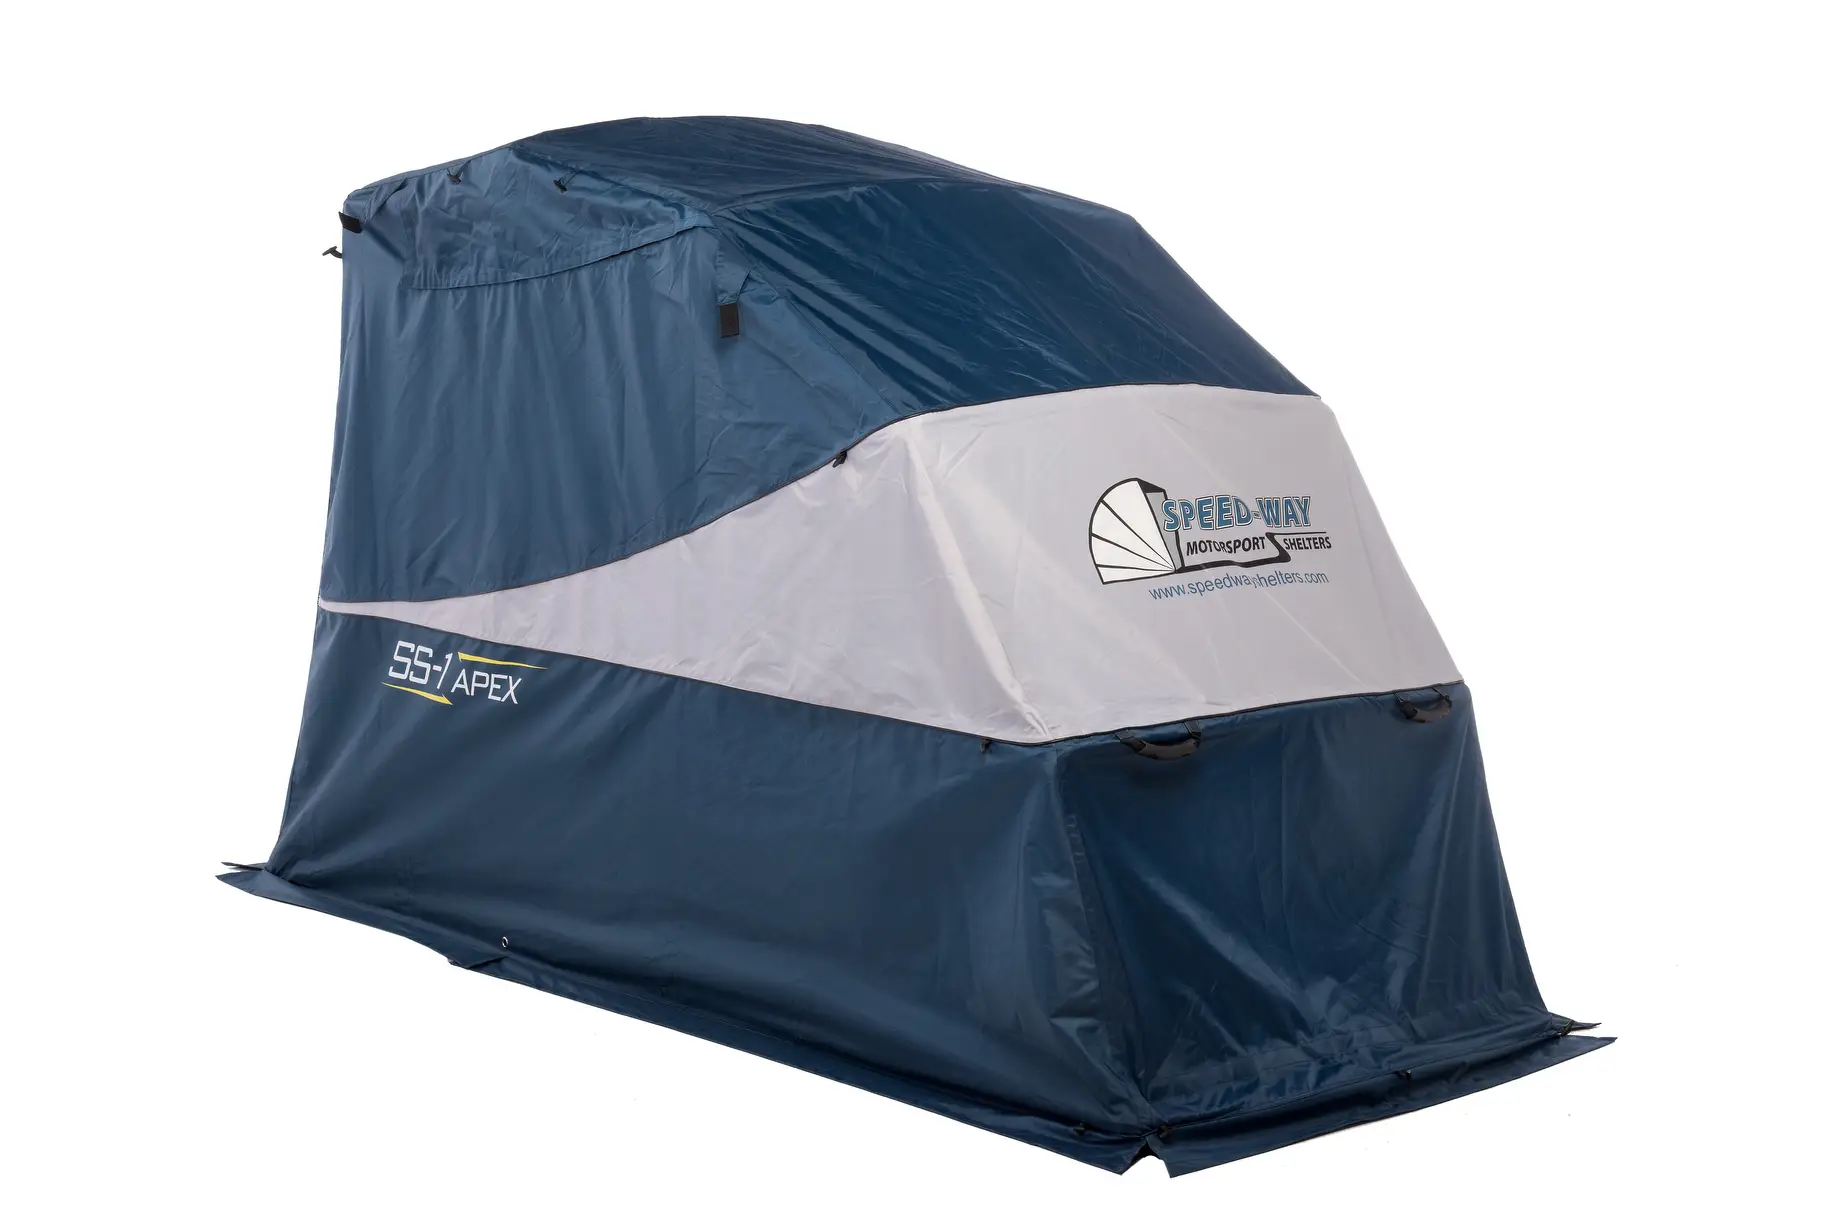
A Speedway Shelter sits on your driveway, patio or side yard, close to where the snow is. Lift the cover by hand and the blower is right there, ready to roll out. When you're done, it goes back in the same way. The cover is waterproof and UV-coated with a vent window so moisture can get out. The heavy-duty steel frame stands up to several feet of snow, and it locks closed (lock not included). It bolts down to concrete, asphalt or a wood base with the included anchor bolts.
To be straight with you: a shelter keeps the weather off and keeps the blower within reach. It doesn't do the maintenance for you. The checklist above still decides whether it starts. After a heavy snow, brush the top off and clear the front so you can open it.
Which size?
Sport: most walk-behind snowblowers. Inside 108 × 43 × 65.75 in.
Touring or Deluxe: extra-wide two-stage machines and ride-ons. Inside 136 × 54 × 77.75 in and 138 × 78 × 78.75 in.
Measure the width, the length with the handles up and the height to the top of the chute, then check the sizes on our snowblower storage page.
When the Season Ends
After the last storm, the job flips. Now the machine has to sit for months instead of start on short notice, and that takes a different checklist: fuel, oil, salt, wear parts and batteries. We've laid it out step by step in How to Store a Snow Blower for the Summer. One thing to add: write down any part that wore out this winter, so it's on your list before next fall.
Snowblower Prep Questions
Why won't my snowblower start after summer?
Common reasons are stale fuel, a fouled spark plug, a dead battery on electric-start or battery models, or the choke and primer not set for a cold start. Start with fresh fuel and a good plug, then follow the starting steps in your manual. If it still won't go, a small-engine shop can check the carburetor.
When should I get my snowblower ready for winter?
Before snow shows up in the forecast. Fall gives you dry days for a test start and time to order parts if something is worn.
Should I start my snowblower before the first snow?
Yes. Roll it outside on a dry day, start it, let it warm up and run the auger, drive and chute. Never run it inside a closed garage or shed.
Do I need to change the oil before winter?
If you changed it at the end of last season, check the level and top it up. If you didn't, change it now. Your manual lists the oil type and how often to change it.
How do I know if a shear pin is broken?
The engine runs but the auger stops turning or only one side turns. With the engine off and the spark plug wire pulled, look at the pins on the auger shaft. Replace them only with the pins your manual specifies, never a regular bolt.
No garage needed
Keep Your Snowblower Close and Ready
A lockable shelter on a heavy-duty steel frame that stands up to several feet of snow. The Sport fits most walk-behind snowblowers. American family-owned in Soquel, California, for 18+ years.